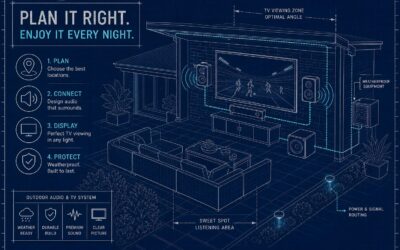
Here’s a scenario that plays out in living rooms across America every weekend: someone spends three weeks reading Reddit threads, drops $2,000 on a receiver, a soundbar, a 75-inch TV, and a subwoofer, gets everything home, plugs it all in, and discovers the soundbar cuts out during movies, the receiver doesn’t recognize the TV, and the rear speakers sound like they’re broadcasting from a neighbor’s garage. It’s a common outcome, one that professional integrators encounter regularly, when home audio and video gear gets picked without a plan.
This guide exists to break that cycle. Whether you’re building a dedicated home theater or just trying to get clean audio and video across every room in the house, what follows covers planning, component selection, speaker placement, wiring, and the honest answer to whether you should tackle this yourself or call in a professional AV team. The team at My Guys Know How regularly untangles these exact mismatched-component situations, which means the advice here is drawn from what actually goes wrong in real rooms, not just spec sheets.
Plan your home audio and video system before you buy a single component
The room decides more than your budget does. A dedicated home theater with controlled acoustics, blackout curtains, and parallel walls behaves completely differently from an open-concept living room that bleeds into the kitchen. Room dimensions and ceiling height determine how many speakers are viable, what screen size makes sense by viewing distance, and whether a soundbar can actually fill the space or whether it’ll just sound like an expensive TV upgrade.
On viewing distance alone: a 65-inch TV works best between 6.5 and 8.8 feet from the main seat, based on THX and SMPTE viewing-angle guidelines, depending on how cinematic you want the experience. A 75-inch screen pushes that to 7.5 to 10 feet. Measure your room before you ever open a browser tab. Get viewing distance wrong and you’ve bought the wrong size display for your actual room, which no receiver or speaker upgrade will fix.
The soundbar versus multi-speaker decision also comes down to the room, not just preference. Soundbars win on footprint, simplicity, and cleaner aesthetics. They’re genuinely the right call for rooms under roughly 200 square feet where a speaker-and-wire setup would be cluttered and overkill. Multi-speaker AV systems win on real spatial separation and immersion, particularly in larger rooms or dedicated theater spaces where a soundbar’s virtual surround processing starts to show its limits. Pick based on your room, not the marketing copy on the box.
Budget tiers set realistic expectations. Under $1,000, the Sony HT-S40R and Yamaha YHT-4950U are strong picks: both deliver solid surround sound in a compact package without requiring a graduate degree in AV compatibility. The $1,000 to $3,000 range opens up the Samsung HW-Q990F or a Sonos Arc Ultra bundle, with better Atmos performance and more convincing surround imaging. Above $3,000, you’re into component-based territory: think KEF R Meta 5.1 paired with a capable AV receiver, which is where true upgrade flexibility and dedicated-theater performance live.
Choosing components for your home audio and video setup
The single most common mistake in a home audio and video setup is buying components that technically connect but don’t perform together. The TV, receiver, and speakers have to speak the same audio and video language all the way down the signal chain. Getting this right before checkout saves you a return shipping nightmare.
On the display side, the specs that matter for system integration are HDMI 2.1 ports, eARC support, and Dolby Vision compatibility. Screen size and panel type matter too: OLED panels deliver better contrast and black levels than QLED in dark rooms, while QLED holds up better in bright living rooms. But a beautiful panel connected to the wrong HDMI port becomes a bottleneck that degrades everything downstream.
AV receivers
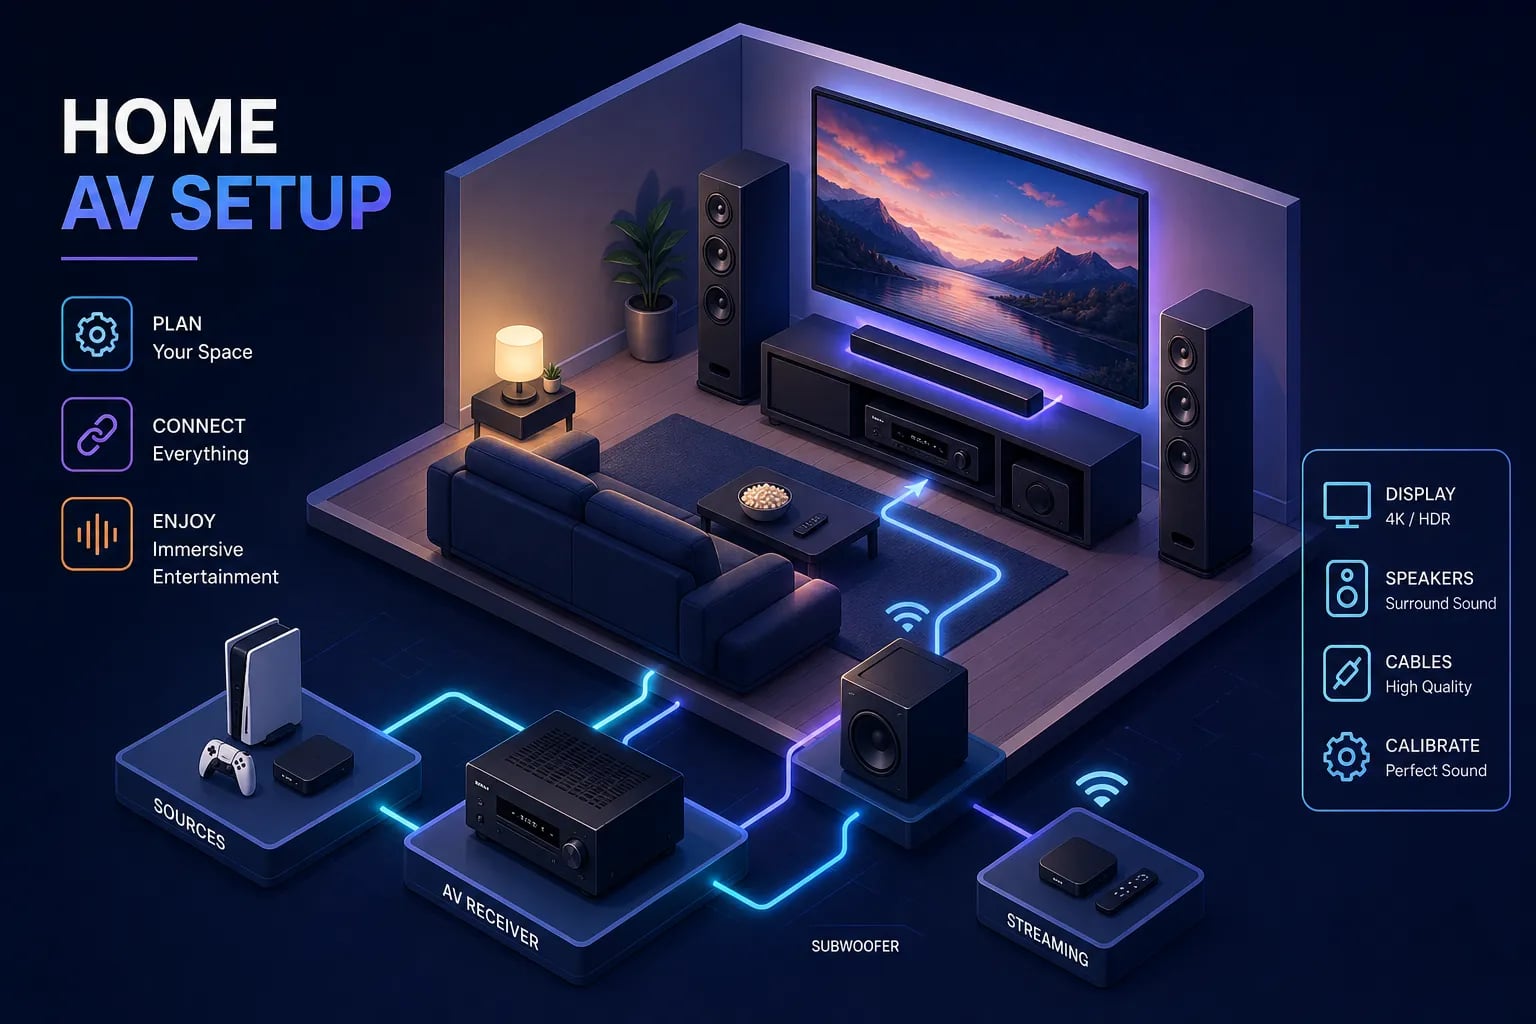
AV receivers are the brain of a component-based home entertainment setup. What they actually do is decode audio formats, route video signals, and amplify speaker channels. A receiver labeled “7.1” does not automatically decode Dolby Atmos; that requires explicit Atmos and DTS:X decoding built into the unit. The Denon AVR-S770H is a solid entry-level starting point. For true Atmos with both formats supported, the Denon AVR-X1700H hits the right balance of price and capability. When evaluating any receiver, check three things: native Atmos/DTS:X decoding, 4K/HDR passthrough, and HDMI version compatibility.
Displays
The pre-purchase compatibility checklist runs through the full signal chain. Does the TV have eARC on the labeled HDMI port, not just any port? Does the receiver explicitly decode Atmos, not just process virtual height? Can it pass 4K with Dolby Vision intact? Are your HDMI cables certified Ultra High Speed at 48 Gbps, the HDMI Forum’s required spec for 4K at 120Hz with Dolby Vision and lossless Atmos passthrough? Every weak link in that chain limits what the whole system can deliver.
Speaker placement and layout for real surround sound
Placement matters more than brand at the entry level. A well-placed mid-range speaker will outperform an expensive one stuck in the wrong position. The front stage starts with left and right speakers forming an equilateral triangle with the main seat, typically 22 to 30 degrees off center, tweeters at ear level. The center channel sits directly above or below the screen to lock dialogue to the image. Get these three right and the front stage already sounds like a significant upgrade over most out-of-the-box setups.
Surround speakers for a 5.1 system go at 90 to 110 degrees from the listening position, slightly above ear level. In a 7.1 layout, rear surrounds fill in at 135 to 150 degrees behind the listener. For Dolby Atmos, height speakers need to hit roughly a 45-degree vertical angle from the main seat: in-ceiling placement above the front half of the seating area handles the front height layer, with a matching pair positioned behind for a four-speaker overhead arrangement. When in-ceiling installation isn’t possible, Atmos-enabled upfiring modules mounted on top of front speakers are a legitimate workaround rather than skipping the height layer entirely.
Symmetry around the main listening position matters as much as the specific angles. An asymmetrical setup where one surround speaker is three feet closer than the other pulls the soundstage off-center in ways no calibration tool fully corrects. Keep distances consistent, run auto-calibration after final placement, and re-run it if you move furniture.
Room acoustics punch above their weight even without a full acoustic build-out. Bass traps in room corners control the low-frequency buildup that makes subwoofers sound muddy. Absorption panels at first-reflection points on side walls sharpen dialogue clarity and tighten the surround image. Diffusion on the rear wall maintains spaciousness in larger rooms. In a living room, thick rugs, heavy curtains, and upholstered furniture already do meaningful acoustic work. You don’t need to turn your living room into a recording studio to hear the difference.
Wiring, integration, and getting the whole home audio and video system talking
The ARC versus eARC distinction matters more than most buyers realize. Standard ARC handles compressed surround formats adequately. eARC is required for lossless Dolby Atmos, specifically Dolby TrueHD, when the audio source is a TV app like Netflix or Apple TV Plus. If you want lossless Atmos from streaming services and your TV routes that audio to the receiver, both the TV and the receiver need eARC, connected by the correct HDMI cable, on the labeled eARC port. Check the TV manual because the eARC port is typically only one specific HDMI input, not all of them.
Multi-room audio and video distribution is where planning gets genuinely complex. Distributing audio and video across zones requires deciding the source, amp, and control layer before any wiring goes into walls. Whether you’re running a structured wiring backbone for a whole-home system or building a wireless multi-room ecosystem, adding rooms after the fact almost always creates integration problems that are expensive and frustrating to untangle. The homeowners who complain about zones that won’t sync or apps that control different rooms in different ways almost universally tacked those rooms on after the main system was already installed.
A unified control layer transforms a house full of components into a coherent smart-home audio video experience. Whether that’s a single app, a programmed remote, or a full automation platform depends on the scale of the system. The programming layer matters as much as the hardware itself: a well-integrated AV system that responds to a single command is a completely different daily experience from six remotes and three apps that sometimes cooperate.
DIY installation vs. calling in a professional AV team
Self-installed home audio and video systems fail in predictable ways. Mismatched components that technically connect but don’t perform at spec. Speaker placement estimated by eye instead of measured. In-wall wiring run without future-proofing. Auto-calibration run once at install and never revisited after the couch moved. These aren’t random failures; they’re the common patterns the My Guys Know How team encounters every week on rescue calls.
Professional home theater installation covers more than delivery and mounting. A real installation includes system design tailored to the room layout and the homeowner’s listening priorities, equipment selection that avoids compatibility dead ends, speaker placement and calibration by measurement, clean in-wall or in-ceiling wiring with proper cable spec, and system testing before the crew leaves. Cost-wise, basic installations typically run $2,000 to $5,000 for a TV and 5.1 audio setup. Mid-range dedicated living-room and theater installs land between $8,000 and $15,000. Full dedicated theater rooms with acoustic treatment and automation generally run $25,000 to $60,000 depending on scope. My Guys Know How approaches every installation as a full-system design problem, which produces a very different result than guessing at placement and hoping the auto-calibration handles the rest.
Here’s where the decision actually lives: DIY is the right call for a single-room soundbar and smart TV setup where the complexity is low and the compatibility risk is manageable. A professional integrator earns their fee on multi-room distribution, dedicated home theaters, in-wall wiring, or any system where the components need to behave as one unified experience. The question isn’t whether you can do it yourself. It’s whether the time, the risk of compatibility errors, and the cost of fixing a bad install after the fact are worth more than getting a professional to do it right the first time.
Your action plan for a home audio and video system that actually performs
Three steps before you spend a dollar. First, define the room type and pick a budget tier that matches what that room can realistically deliver. A soundbar in a medium living room on a $1,500 budget is a better outcome than a seven-speaker receiver setup crammed into the same space with no acoustic control. Second, run the compatibility checklist across the full signal chain before checkout: eARC on the correct port, explicit Atmos decoding in the receiver, 4K and Dolby Vision passthrough confirmed, and certified HDMI 2.1 cables in the cart. Third, decide early whether the wiring and integration complexity warrants professional installation. Retrofitting a botched plan almost always costs more than doing it right the first time, usually a lot more.
If the compatibility checklist and the wiring decisions feel like too many moving parts, reaching out to a professional AV integrator isn’t an admission of defeat. It’s how you end up with a home audio and video system that works on day one and stays working as formats evolve and new devices arrive. Get in touch with the team at My Guys Know How to talk through your room, your goals, and the right path forward for your AV setup.